My NAS Project Part 3
Hardware is ready, it's now to format the harddisk to get it operational.
I tried to connect to the web interface via the IP reported in the router, but I got error. I then read again the QIG. Ok, I need the bundled CD to load the software/firmware for the first time. This is something new, usually a dated software/firmware is loaded to the device in the factory before its shipment. Perhaps a different approach by Synology so that the user is trained on how to update the firmware in future.
Since I needed to load the firmware, I switched from wireless to wired network to play safe. I did not wish to brick the NAS due to network glitches while updating it.
Put in the CD, a program called Synology Assistant launched, the NAS on the network was detected and immediately the wizard guided me to load the software onto the NAS...
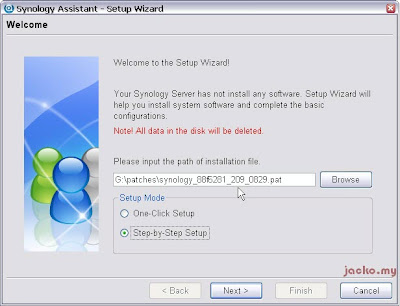
I chose step-by-step setup over one-click. No screen by screen snapshots here as the wizard is pretty straight forward and easy to follow even for first timer. Take a note here if you are using existing HDD with data, your data will be lost in this process. Backup before you proceed.
Waited for a while, the NAS rebooted itself after the firmware load.
After the beep sound from NAS, I clicked on the Search button...

The NAS was found on the network. I clicked on Manage and my default browser fired up.
Typed in the password and I was directed to the NAS admin desktop with available icons to click...
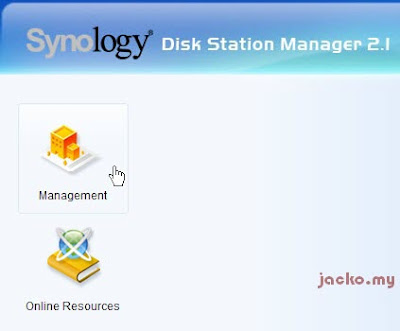
I clicked on Management, went to Storage > Volume. No volume was detected, so I clicked on the Create button...
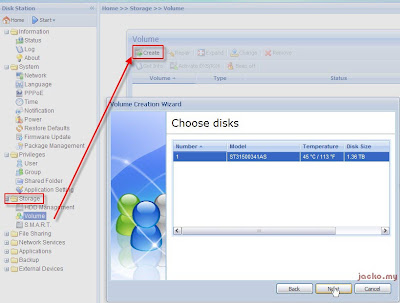
Followed the on screen wizard and just a few seconds, the volume is now ready...

I went to my home network and browsed the NAS...
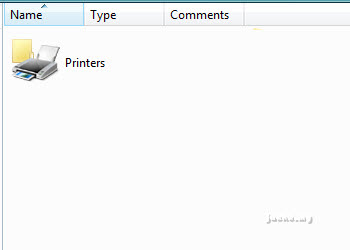
As expected, no shared folder available. I returned to the management web, clicked on Privileges > Shared Folder...
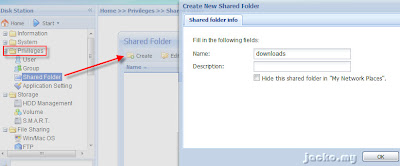
Nothing in there so I clicked on Create and created a downloads folder. As a result...
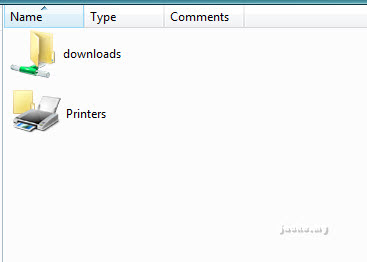
Mission accomplished! The NAS is now up and running!
One thing I observed from this setup, the guide from Synology does not cover the end-to-end process. The QIG only guides the users up to firmware load, and a simple prompt at the end of firmware load to reminding user to create volume. As you can see, users must create a logical volume in the NAS and shared folders (or enable applications like Multimedia Station) before they can first start using it. I would think the QIG should at least cover up to create volume step so that it's more friendlier to users whom are not IT literate.
Anyway, one tip to Windows user, you can create user ID in NAS to have similar user ID and password with your Windows logon account so that you won't be prompted for authentication when accessing the shared folders in NAS, as long as the permission is setup properly in NAS.
Now it's time to play around with its applications while watching my favorite team plays in EPL.
Related Posts:


Comments
Post a Comment